| Available on Plans |
|
|
|
Valcre lets you directly import data from third-party sources to Valcre Online (Property data, Sale Comparables, Lease Comparables, etc.). Depending on your data provider, there are two different ways to import this data.
- Manually map and import the data yourself using a CSV template.
-
Purchase a custom CSV data importer service from Valcre to import without needing a Valcre CSV template. (Only available with Professional and Enterprise subscription tiers)
- If you want to know more about purchasing a custom data importer, please contact your Client Success Manager.
Table of Contents |
Prerequisites
|
Video
This video will walk you through importing comparables from third-party sources. Below, you will find a step-by-step walkthrough.
How-to Guide
Importing with currently supported data importers
Valcre has created several importers to support the various third-party data sources. If you are not sure if your data source is supported, your Client Success Manager can discuss this with you directly. If your data source is already supported, continue with the steps in this section. Please see the Importing without custom-built importers section below if it is not supported.
Step 1: From the Dashboard, select Create new, followed by Import Properties.
Step 2: Choose your files and select Import.
Once your data has successfully been imported, you can access a summary of what was imported/skipped and links to each record, organized into the relevant sections of Valcre Online by selecting Results next to the imported file.
- Note: Skipped records indicate the record was a duplicate.
Step 3: Add additional data points
Many fields in Valcre Online will auto-populate based on the imported file. However, some require manual entry. These fields are highlighted in yellow or presented as blue drop-down menus.
Now that you have imported your sales comparables, you can find these records in the Sales tab.
Without Data Importers
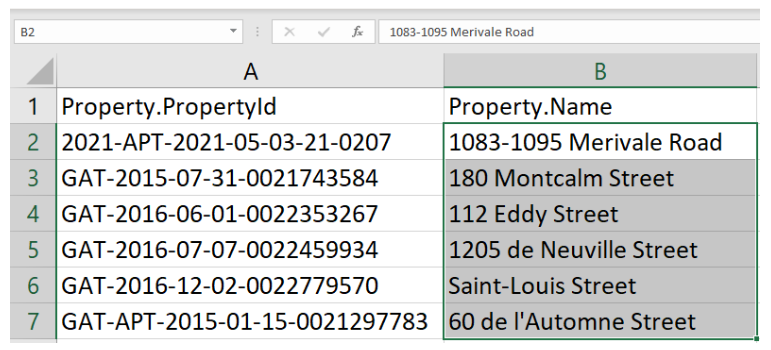
Step 1: Obtain a Valcre CSV to use as a sample CSV.
Select Properties from the left side menu, select the checkbox next to a property record, and select Export selected as. Select CSV (all data).
Step 2: Map your data
- Option 1: Copy/Paste the Valcre column headers into your MLS data export file, matching the relevant column header with the appropriate data.
- Option 2: Copy/Paste your data directly into the Valcre CSV file and match the appropriate data with the relevant column header.
|
|
Step 3: Data clean-up
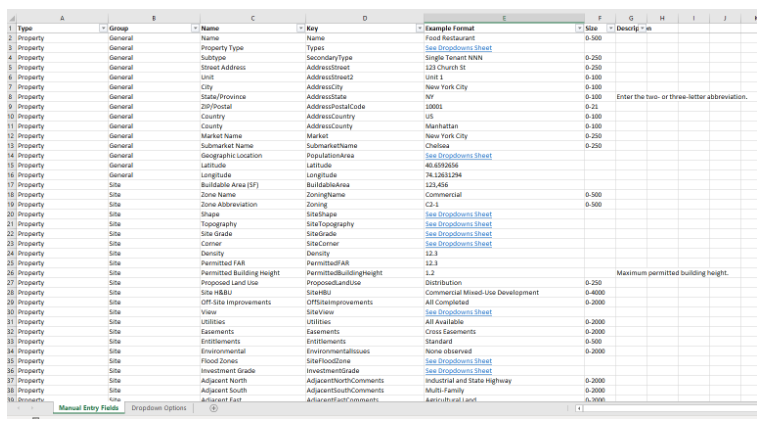
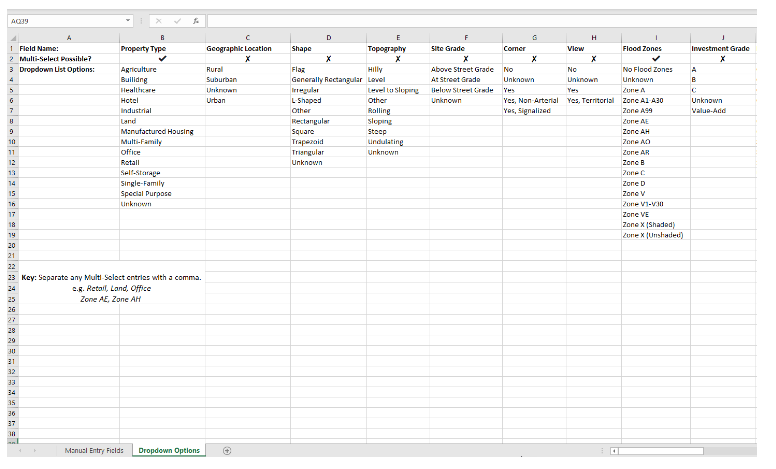
It is important to know that the data format needs to match the validation rules within Valcre Online. If the data format does not match Valcre's format, Valcre Online will reject your import.
-
Use the Valcre Data Dictionary, which provides examples of which values are accepted for each field and information on the character limit for each field to clean up your data and ensure a complete import. (Request the Valcre Data Dictionary through your Client Success Manager or our Support team.)
|
Step 4: Import your file
-
Step 4.1: From the Dashboard, select Create New, followed by Import Properties.
-
Step 4.2: Choose your files and select Import
Once your data has successfully been imported, you can access a summary of what was imported/skipped and links to each record, organized into the relevant sections of Valcre Online by selecting Results next to the imported file.
Note: Skipped records indicate the record was a duplicate.
| Continue learning about Valcre Online with our next suggested guide: Creating Datasheets. |
Additional Questions? Valcre Support is ready to help with all your Valcre product questions! You can connect to us via phone, email, or chat!
Comments
0 comments